
The menu is the first thing a customer asks once they walk into your restaurant and get seated. It is one key element that can make or break your restaurant sales. So it is curial that you put ample time and effort into designing the perfect menu for your restaurant. There are a lot of things to keep in mind when it comes to designing the perfect menu. More is not necessarily merrier when it comes to a restaurant menu, so ita always better to keep things simple and light. Let us look at how to design a restaurant menu that is a perfect fit for you!
A Step-by-step Guide to Designing a Menu
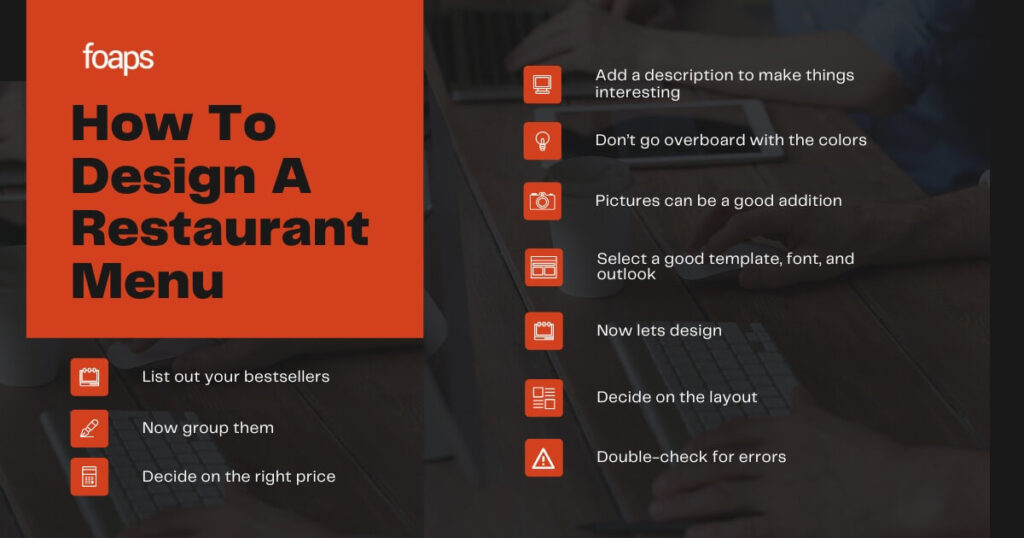
Nothing is complicated when it’s broken down into smaller steps. And that’s exactly what we have done for you here. Follow these steps and before you know it, you will have your very own personalized restaurant menu! So, let us get started.
Step 1: List out your bestsellers
Instead of listing down each and every item, you offer at your restaurant, jot down the ones that can grab the attention of the customers. Too many options can be a bad thing as it confuses the customers and they will spend a majority of their time filtering out items from the lengthy menu. To avoid this, add only the items that you think are the best ones to the menu. It will save the time and effort of the customers and enhances the customer experience as well. Once you are done with creating a simple list of your best items, it’s time to move on to the next step.
Step 2: Now group them
There are tons of categories available into which you can group the items you have listed in the first step. Depending on the type of your restaurant and the kind of food you serve, the categories can differ. Some of the common groups include appetizers, desserts main course, starters, and so on. Once the dishes are grouped, decide on the order in which they will appear on the menu. You can go in the logical order by beginning with starters and ending with desserts or you can add your main course in the beginning. It is all up to you.
Step 3: Decide on the right price
It all comes down to popper pricing. No matter how well-planned and precise your menu is, if the pricing is not done right, then everything goes down the drain. Take a look at the data of your restaurant sales over the past few months. Which items have been doing well and which ones have been avoided by the customers? See if any alteration in the pricing can be done to such items so that it becomes more appealing to the customers. Proper research and effort have to be put in before coming up with the right set of pricing for your bestsellers.
Step 4: Add a description to make things interesting
You could either leave the items as they are, or you can put in a little bit of extra effort and add descriptions for the food items to make them more interesting. A little bit of backstory and the ingredients added to the food items can give them more personality and appeal. It is just a small addition to a menu, but the impact of the same can be awesome. The more interesting your food items are, the more tempted the customers will be to try them out.
Step 5: Now lets design
Now that all the difficult stuff is done and out of the way, it’s time to discuss the actual designing process. Now don’t worry, you don’t have to be an artist or designing wizard to design your own restaurant menu. There are plenty of apps available in the market which allows you to create a menu effortlessly, most of which are absolutely free. There are many menu design templates available on websites like Canva, and all you have to do is choose one that catches your attention. The restaurant menu design software will collect all the data you feed it and a prototype of the menu will be available in minutes.
Step 6: Don’t go overboard with the colors
Choosing a color palette is more important than you think. It adds personality to your menu and helps to set the right tone. Do not add a lot of colors, it’s always better to choose a single color and go for the different shades of the same. It is more elegant and easy on the eyes. Too much color can distract the customers from the actual purpose of the menu altogether. Select a color that you think suits the personality of your restaurant. All of these elements play a significant role when it comes to the overall customer experience.
Step 7: Pictures can be a good addition
You can leave your menu as it is, or you can go ahead and add pictures of the items listed in the menu to give a more comprehensive experience to the customers. Take good quality pictures of the items by arranging them in an appetizing manner. You can take the help of your chef and a professional photographer to get this part covered.
Step 8: Select a good template, font, and outlook
There are an overwhelming number of templates, fonts, and layouts available when it comes to the designing aspect, especially in the Canva restaurant menu designing section. Pay extra attention to the spacing, as it might lead to confusion if the words are not properly spaced. Focus on clarity and make sure to leave enough space between each item so that the menu does not look cluttered. Choose a font that is easy to read by the customers and a template that makes sense to you.
Step 9: How should the layout be?
Come up with two to five choices so that you have options to choose from. Show these options to your stakeholders and partners, along with some loyal customers to get an idea of which menu design is the best. Once the selection is done and the layout of the same is fixed, it’s time to move on to the final step.
Step 10: Make sure to double-check for errors
Before you give the final nod of approval to the restaurant menu, take some time to check and double-check the menu for errors in spelling, spacing, or even pricing. Once they are printed and laminated, there won’t be anything left to do than use tacky methods to cover the errors, so it is always better to take extra precautions during the proofreading process.
Conclusion
Now that you have a basic idea of where to get started and how to go about the process, all you have to do is go to a designing website such as Canva and get the work started. A little bit of extra effort and attention to detail can take your game to new levels!